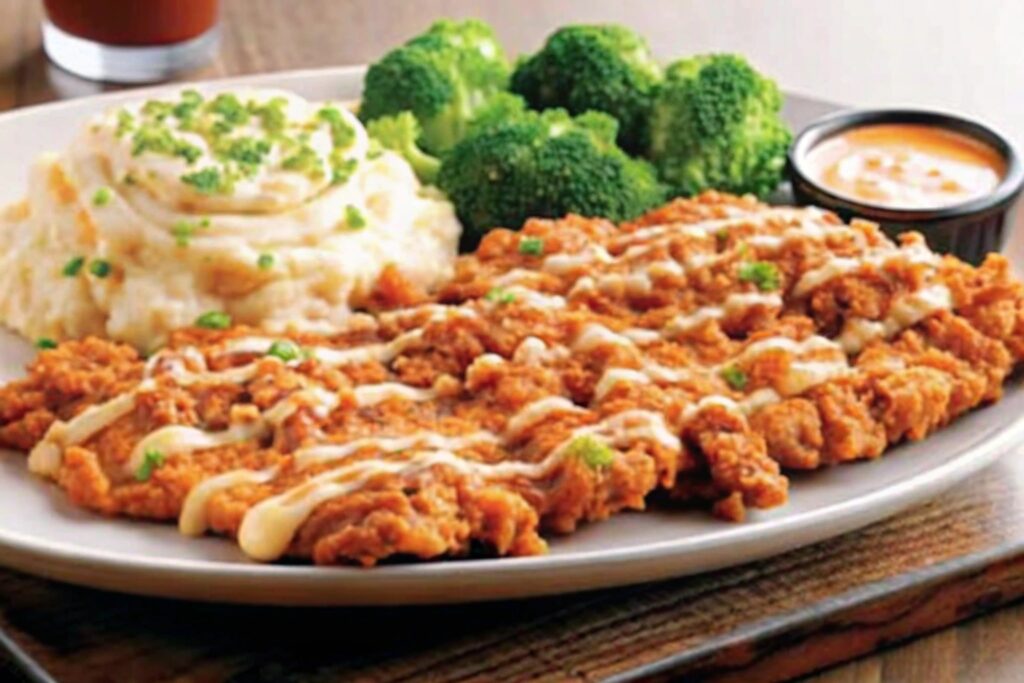
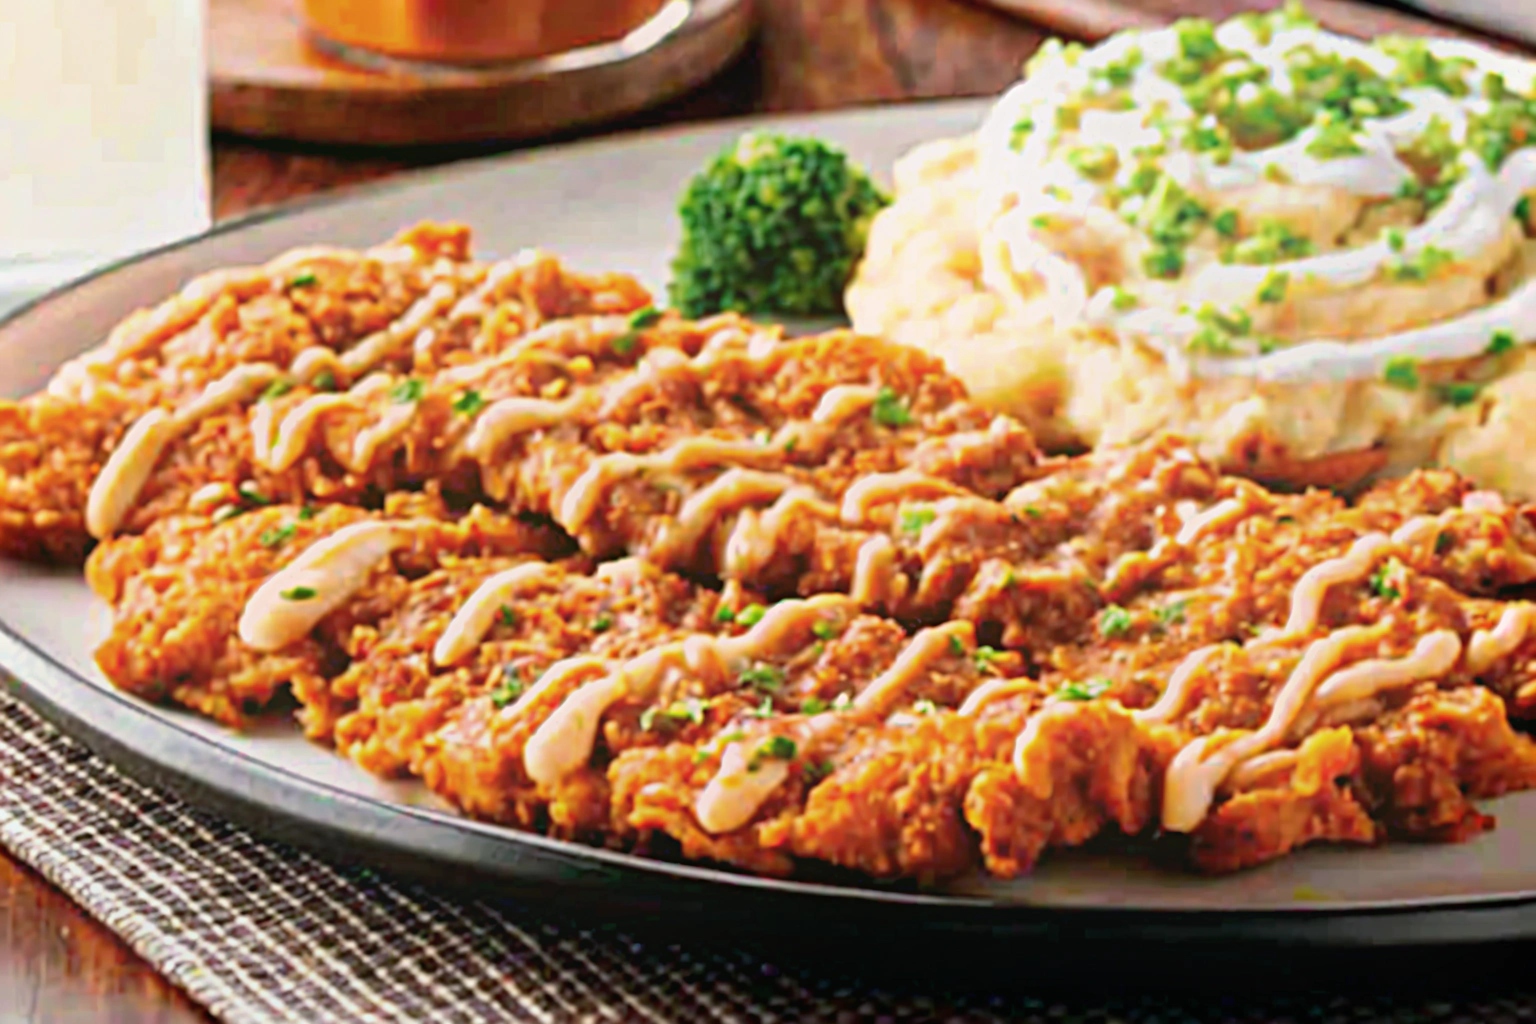
Bloomin’ Fried Chicken has become a culinary sensation for its crispy exterior, juicy interior, and bold flavors that satisfy any craving. This iconic dish, popularized by Outback Steakhouse, combines tender chicken breasts with a crispy, seasoned coating reminiscent of their famous Bloomin’ Onion. Whether you’re hosting a dinner, craving a hearty snack, or indulging in a comfort food feast, this dish is sure to impress. It’s a perfect harmony of texture and flavor that appeals to food lovers of all ages.
In this comprehensive guide, we’ll explore the essentials, step-by-step instructions, and variations that allow you to put your unique twist on this timeless favorite.
Essential Ingredients
Creating the perfect Bloomin’ Fried Chicken begins with assembling high-quality ingredients. These components are essential to achieve the desired crispiness and flavor:
For the Chicken:
- Chicken breasts or skinless chicken breast cutlets: Opt for fresh, high-quality chicken to ensure tender and juicy results. Boneless chicken breasts are ideal for easy preparation and even cooking.
- Buttermilk: This ingredient not only tenderizes the meat but also helps the coating adhere better, ensuring a crispy exterior.
- Seasoned flour mixture: A blend of flour, garlic powder, paprika, cayenne pepper, salt, and ground black pepper creates a flavorful base for the breading. Adjust the spices to your preference for heat and taste.
- Egg mixture: Acts as a binding agent between the chicken and the breading. A well-beaten egg mixed with a splash of buttermilk works wonders.
- Vegetable oil: Choose an oil with a high smoke point, like canola or peanut oil, for frying. It ensures even cooking and a golden-brown crust.
For the Sauce:
- Mayonnaise: Forms the creamy base of the sauce.
- Horseradish: Adds a tangy, spicy kick.
- Ketchup: Provides sweetness and a touch of acidity.
- Worcestershire sauce: Enhances the savory depth of flavor.
- A dash of cayenne pepper or paprika for heat, depending on your spice preference.
These ingredients form the foundation of a dish that’s as delicious to eat as it is easy to prepare. Having them ready and measured out before starting will make the cooking process smoother and more enjoyable.
Step-by-Step Cooking Instructions
Preparing the Chicken
Preparation is key to ensuring the chicken is perfectly tender and flavorful. Here’s how to get started:
- Tenderize the chicken: Lay the chicken breasts between two sheets of plastic wrap. Use a meat mallet or rolling pin to pound the chicken to an even thickness of about 1/2 inch. This step ensures the chicken cooks evenly and remains tender.
- Marinate in buttermilk: Transfer the chicken to a bowl and pour in the buttermilk mixture, which may include a dash of cayenne pepper, garlic powder, and salt for extra flavor. Cover with plastic wrap and refrigerate for at least one hour, preferably overnight. The buttermilk tenderizes the chicken and infuses it with flavor, setting the stage for a juicy interior.
Breading Process
To achieve the signature crispy coating, follow this precise breading process:
- Set up a breading station: Arrange three shallow bowls. Fill the first with the seasoned flour mixture (flour, garlic powder, paprika, cayenne, salt, and black pepper). In the second, whisk eggs with a splash of buttermilk. Reserve the third for an additional layer of seasoned flour.
- Coat the chicken: Remove the chicken from the buttermilk marinade, letting any excess drip off. First, dredge the chicken in the seasoned flour, pressing lightly to ensure even coverage. Next, dip it into the egg mixture, letting any extra drip back into the bowl. Finally, coat it again in the seasoned flour, pressing firmly to create a thick, even layer. This triple coating is key to the chicken’s crispy, golden crust.
Frying Techniques
Perfectly fried chicken is all about technique and attention to detail:
- Heat the oil: In a large cast-iron skillet or heavy-bottomed pan, pour enough vegetable oil to reach about 1 inch in depth. Heat the oil over medium-high heat until it reaches 350°F. Use a thermometer to monitor the oil temperature to prevent under- or over-cooking.
- Cook in batches: Carefully add the chicken to the hot oil, ensuring not to overcrowd the pan, which can lower the oil temperature. Fry the chicken for 7-8 minutes per side, turning once, until the coating is golden brown and crispy. The internal temperature should reach 165°F.
- Drain properly: Transfer the fried chicken to a clean wire rack placed over a baking sheet to allow any excess oil to drain. This step ensures the coating remains crispy.
Final Seasoning
While the chicken is still hot, sprinkle it with a touch of salt or your favorite spice blend to enhance its flavor further. Serve immediately for the best taste and texture.
Variations and Substitutions
Bloomin’ Fried Chicken offers room for creativity and personalization. Here are some ideas to adapt the recipe to your liking:
Different Spice Blends
- Add a teaspoon of ground cumin or ground coriander seeds for an earthy undertone.
- Use sweet paprika for a milder flavor or smoked paprika for a smoky depth.
- Adjust the amount of cayenne pepper to make it as spicy or mild as you prefer.
Alternative Coatings
- Swap out regular flour for panko breadcrumbs or crushed cornflakes for extra crunch.
- For gluten-free options, use almond flour or gluten-free all-purpose flour as a substitute.
Cooking Methods
- Air Fryer: Preheat to 375°F and lightly spray the chicken with cooking oil. Cook for 12-15 minutes, flipping halfway through, until crispy and golden.
- Oven-Baked: Place breaded chicken on a wire rack set over a baking sheet. Bake at 400°F for 25-30 minutes, flipping once halfway through, for a healthier alternative.
Serving Suggestions
Bloomin’ Fried Chicken is versatile and pairs wonderfully with a range of sides and dipping sauces. Here are some suggestions:
Pairing Recommendations
- Comfort Food Classics: Serve with creamy mashed potatoes or buttery biscuits for a hearty meal.
- Light and Fresh Options: Pair with a crisp green salad, steamed vegetables, or coleslaw to balance the richness of the chicken.
- Indulgent Sides: Macaroni and cheese, loaded fries, or onion rings elevate the meal for true comfort food lovers.
Ideal Dipping Sauces

- Spicy Signature Bloom Sauce: Combine mayonnaise, ketchup, horseradish, and cayenne pepper for a creamy, tangy dip.
- Honey Mustard: Sweet and tangy, it pairs beautifully with the crispy coating.
- BBQ Sauce: Adds a smoky, rich flavor to each bite.
Pair your Bloomin’ Fried Chicken with sides like German potato soup for a hearty meal. For a lighter option, try a refreshing pickled cucumber salad. If you’re feeling indulgent, end your meal with a delicious butter pecan pound cake.
Storing Leftovers
To maintain the deliciousness of leftover Bloomin’ Fried Chicken, proper storage and reheating are essential:
Best Storage Practices
- Place cooled chicken in an airtight container. Layer parchment paper between pieces to prevent them from sticking together.
- Store in the refrigerator for up to three days. For longer storage, freeze the chicken for up to two months.
Reheating Techniques for Maximum Flavor
- Reheat in the oven at 375°F for 10-12 minutes to restore crispiness.
- Avoid microwaving, as it can make the breading soggy. For frozen chicken, thaw it overnight in the refrigerator before reheating.
Tips and Tricks for Perfect Bloomin’ Chicken
- Preheat your oil: Ensuring the oil is at the correct temperature before frying prevents the chicken from absorbing excess oil and becoming greasy.
- Use a meat thermometer: Always check the internal temperature of the chicken to guarantee it’s cooked through without overcooking.
- Let the breaded chicken rest: After breading, allow the chicken to rest for about 10 minutes. This helps the coating adhere better and fry evenly.
- Season at every step: Don’t skimp on seasoning the flour mixture, egg mixture, and final coating. Each layer adds flavor.
Related Recipes for a Culinary Adventure
Expand your fried chicken repertoire with these mouthwatering recipes:
- Louisiana Famous Fried Chicken: A spicy, Cajun-inspired dish packed with bold flavors.
- Honey Jerk Roasted Chicken: A Caribbean twist featuring sweet and spicy notes.
- Fried Chicken Sandwich: Assemble your Bloomin’ Fried Chicken on a toasted brioche bun with pickles and a dollop of spicy mayo for an indulgent sandwich experience.
Conclusion
Bloomin’ Fried Chicken is a crowd-pleaser that brings bold flavors and crispy textures to your table. By following these detailed steps and experimenting with variations, you can recreate this restaurant-quality dish at home. Whether you’re enjoying it as a family dinner, a game-day snack, or part of a full-on “bloom-ified” menu, this recipe is sure to become a favorite. Dive in, get cooking, and savor every bite!
Looking for more chicken-inspired dishes? Check out the Chick-fil-A grilled nuggets or try making chicken crust pizza for a low-carb alternative.


1 thought on “Bloomin Fried Chicken: the Perfect Dish for Your Next Gathering”